The art of the home
How to install a ceiling fan: the complete 30-minute guide
Published on ·9 min read
Installing a ceiling fan sounds like an electrician's job. In reality it is one of the simplest interventions a home offers: if a ceiling light is already in place, the circuit exists, the wall switch exists, and all that remains is to swap one appliance for another. Two wires to connect — live and neutral — on a supplied terminal block, one steel bracket to screw in, and a remote control that is already paired out of the box. Allow about 30 minutes, one screwdriver, and no electrical expertise beyond basic care.
This guide walks through every step of replacing a ceiling light with a ceiling fan: powering down, removing the old fixture, fitting the bracket, wiring, testing. It also covers the safety rules — including the 2.10 m minimum clearance between floor and blades required by the CE standard —, the special cases (concrete, plasterboard, wooden beams, the French DCL box, sloped ceilings) and the rarer situations where calling a professional is the right move.
Do you need an electrician to install a ceiling fan?
In the vast majority of cases, no. As soon as a light point exists on the ceiling — a flush fixture, a pendant, or even a bare lampholder — the circuit is already in place and wired to a wall switch. Installing a ceiling fan then amounts to replacing one fixture with another: you disconnect two wires and reconnect two wires. The gesture is identical to hanging a new chandelier, something millions of households do themselves, and SEY Maison fans ship with an illustrated manual covering every step, a terminal block for the connection and a pre-paired remote control.
An electrician becomes relevant in two specific situations: the complete absence of a ceiling light point (a new line must then be run from the panel, which is genuine electrical work) and visibly outdated wiring — fabric-covered conductors, cracked insulation, no earthing anywhere. In those cases a call-out fee is money well spent, and once the wiring is sound, fitting the fan itself will take the professional only a few minutes.
What tools and materials should you prepare?
The list fits in one hand. The essentials come in the box: the steel mounting bracket, the terminal block, screws for standard fixings and the remote control, already paired with the fan's receiver. All you need to gather is basic tooling and a stable stepladder — never a chair — so you can work at ceiling height without straining.
One last point before you start: set aside twenty to thirty uninterrupted minutes, and if possible a second pair of hands to pass you the motor unit when it is time to hook it onto its bracket. It is not strictly necessary — modern hanging systems let you hang the motor on the bracket before wiring —, but it makes the job more comfortable.
- ·A screwdriver (Phillips, plus a flat one for the terminal block screws)
- ·A stable stepladder that puts your arms at ceiling height
- ·A voltage tester or multimeter to confirm the power is off
- ·Included with the fan: steel bracket, terminal block, screws, pre-paired remote, illustrated manual
How do you install a ceiling fan in 6 steps?
The sequence is always the same, whatever the model. Step one, non-negotiable: cut the power at the main breaker or at the lighting circuit's breaker, then confirm with a voltage tester that the ceiling wires are dead. Turning off the wall switch is not enough — depending on how the circuit was wired, the live conductor may still be present in the box. Next, remove the old fixture: unscrew the canopy, disconnect the wires from the existing terminal block, take down the body of the light.
Then comes the assembly itself. Fix the steel bracket to the ceiling at the light point, using fixings suited to the material (see the next section). Connect the live wire (red, brown or black) and the neutral (blue) to the matching terminals of the supplied block, tightening firmly. Hook the motor unit onto its bracket until it locks, fit the blades and the light kit as shown in the manual, then restore power and test the remote: speeds, lighting, and reverse rotation where available. On a Boréal 107, that is also the moment to check the three colour temperatures of the dimmable LED.
- ·1. Cut power at the breaker and confirm zero voltage with a tester
- ·2. Remove the old fixture and free the two wires (live and neutral)
- ·3. Fix the steel bracket to the ceiling with fixings suited to the material
- ·4. Connect live and neutral to the supplied terminal block, tightening firmly
- ·5. Hook the motor unit onto the bracket, fit blades and light kit
- ·6. Restore power and test the remote (speeds, lighting)

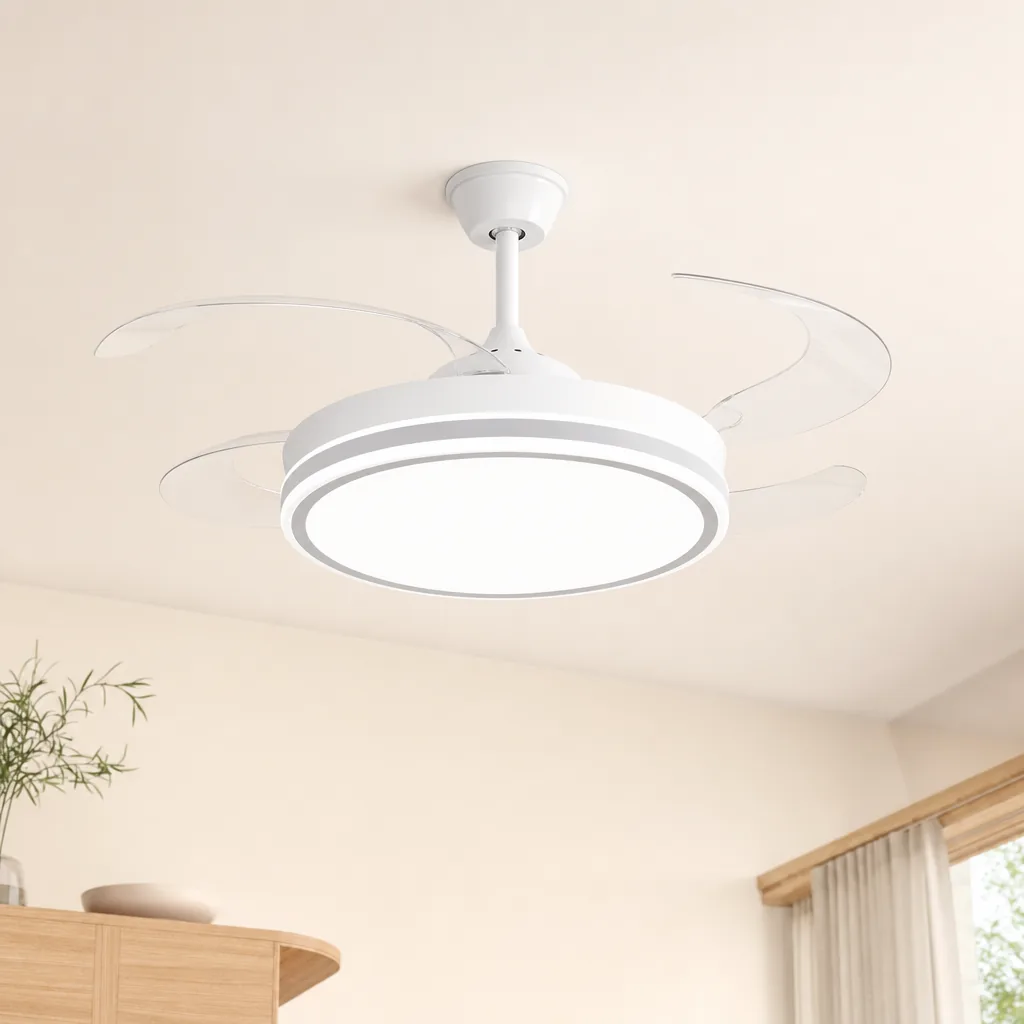
The Boréal 107
Retractable blades · Ø 107 cm · LED ceiling light & silent fan
- ✓Retractable blades: invisible when off, nobody guesses it's a fan
- ✓Sleep with windows closed, 30 dB, quieter than a whisper
- ✓Integrated LED 2700K → 6000K, dimmable: replaces your ceiling light
Which safety rules must you follow?
The first rule has already been stated: never work on a live circuit. Power is cut at the breaker, verified with a tester, and the wall switch stays off for the whole operation. The second rule is dimensional: the CE standard requires a minimum of 2.10 m between the floor and the blades. Measure your ceiling height before buying and subtract the total height of the fan; in a low room, a compact hugger-style model is the answer, while a downrod suits generous volumes.
Third rule: the strength of the anchoring. A ceiling fan is heavier than a light fixture and, above all, it moves — the fixings must carry both the weight and the vibrations, which is exactly what the steel bracket is designed for, provided it is anchored in load-bearing material with the appropriate plugs. Finally, respect the clearances: the blades must turn well away from any obstacle (sloping wall, tall furniture, open wardrobe door), and the fan must never be within arm's reach of a bunk bed or mezzanine.
Concrete, plasterboard, wooden beam, French DCL box: how do you adapt?
The bracket is fixed differently depending on the ceiling. In concrete — the most common case in apartments — suitable expansion plugs are all it takes: it is the strongest anchoring there is. In plasterboard, you must reach the structure: either a joist or metal furring channel located with a detector, or metal toggle anchors rated for suspended loads in board — never plain plastic wall plugs. On an exposed wooden beam, coach screws driven straight into solid timber give an excellent fixing, often the simplest of all.
Two specific cases deserve a word. The DCL box, standard in recent French homes, is the recessed fitting with a removable plug: you take out the DCL plug, reach the supply wires inside the box and wire the fan conventionally via the terminal block; the bracket is fixed into the load-bearing material around the box, never onto the plastic box itself. As for sloped ceilings, they are not a deal-breaker: brackets accept an incline of up to 15° depending on the model — check the figure in the manual, and make sure the blades keep their ceiling clearance through the full rotation.
Which mistakes should you avoid, and when should you call a professional?
The common mistakes are always the same, and all avoidable. Switching off at the wall instead of cutting the breaker. Fixing the bracket into plasterboard with plastic plugs meant for a picture frame. Mixing up the conductors — live is red, brown or black, neutral is blue, and a tester settles any doubt. Leaving the terminal block screws loose, a source of heating and intermittent contact. Or fitting the blades before hanging the motor, which turns the job into unnecessary acrobatics: follow the order in the manual.
That leaves the situations where the right reflex is to call an electrician: no electrical supply at the ceiling at all, old wiring with questionable insulation, no identifiable breaker on the panel, or simply any doubt about what you see when you open the box. A professional wires a light point in a single visit; you keep the satisfaction of hanging the fan yourself afterwards. The golden rule: when in doubt, never force anything — mechanically or electrically.
Replacing a ceiling light with a ceiling fan is a half-hour project, not a building site: two wires on a terminal block, one steel bracket, one screwdriver. That is precisely why SEY Maison fans are designed for the existing light point, with an illustrated manual, a pre-paired remote and a 2-year warranty backed by European after-sales service — delivered in 6 to 10 working days across France, Belgium, Germany and Luxembourg. Thirty minutes of installation to gain 3 to 4 °C of felt coolness, at a whisper of 28 to 34 dB: few home improvements offer a better effort-to-effect ratio.
Frequently asked questions
Can you install a ceiling fan without an electrician?+
Yes, as long as a light point already exists on the ceiling. The installation comes down to connecting two wires (live and neutral) on a supplied terminal block and screwing in a steel bracket — about 30 minutes with a simple screwdriver. An electrician only becomes necessary when there is no light point at all or when the wiring is visibly outdated.
How long does it take to replace a ceiling light with a fan?+
About 30 minutes on an existing light point: cutting the power, removing the old fixture, fitting the bracket, wiring the terminal block, mounting the blades and testing the remote. SEY Maison fans ship with an illustrated manual and a remote that is already paired, so there is no configuration step at all.
What is the minimum height under a ceiling fan?+
The CE standard requires at least 2.10 m between the floor and the blades. Measure your ceiling height and subtract the total height of the fan before buying. In low rooms, choose a compact model mounted close to the ceiling; in tall rooms, a downrod brings the airflow down to the right height.
Can a ceiling fan be installed on a sloped ceiling?+
Yes, within the incline the bracket accepts, generally up to 15° depending on the model. Beyond that, a dedicated accessory or professional advice is needed. Also check that the blades keep sufficient clearance on the sloping side through their full rotation.
The SEY Maison Circle
Every month, an exceptional piece. Never reissued.
The Drops principle: one high-end furniture piece per month, in a numbered edition. Once it's gone, it never comes back. Circle members are notified 48 h early, access each drop 24 h before everyone else, and receive our guides before publication.
Discover the Drops →